


In the history of the Second World War, the 15th August is primarily remembered as the anniversary of V-J Day in 1945, but it also marks an anniversary of a key action during the Battle of Britain in 1940. Having launched an all-out attack on Fighter Command in the south of England 2 days previously, the Luftwaffe widened its attacking front by tasking its units in Norway – known as Luftflotte 5 (‘Air Fleet 5’) - to launch a mass raid towards targets in the North-East. Although their single-engine fighters lacked the range to escort their bombers across the North Sea, the Luftwaffe were willing to take the risk because they felt that Fighter Command had bolstered its southern defences by stripping its fighter squadrons from the north. That assumption would be proved very wrong by the Spitfires and Hurricanes of 13 Group, and the predecessors of today’s Air Surveillance and Control System (ASACS) personnel who manned the radars and operations rooms which made up the Command and Control organisation known as the Dowding System.
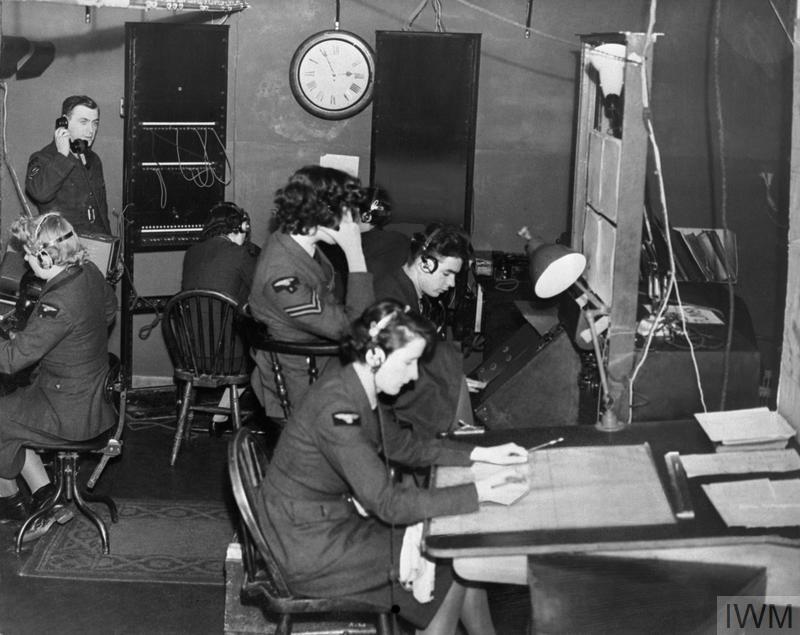
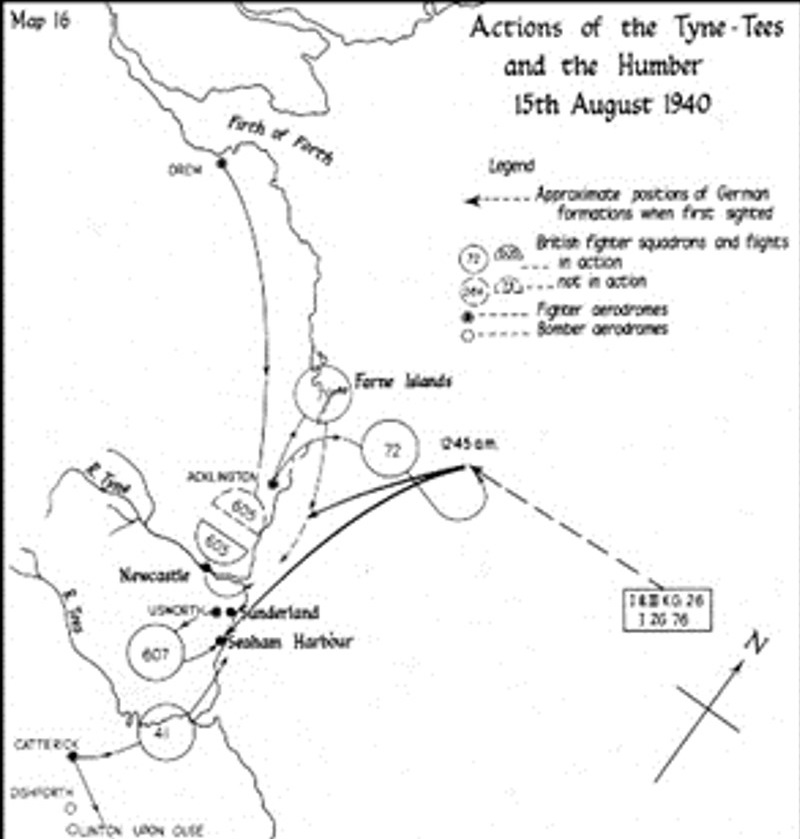
Shortly after midday, the approaching Luftflotte 5 raid was detected by the Chain Home radar stations at Douglas Wood in Angus and Drone Hill in Berwickshire. The radar information was passed to the Fighter Command Filter Room and on to the 13 Group Ops Room at Kenton Bar, Newcastle and its subordinate Sector Ops Rooms at Turnhouse, Acklington, Usworth and Catterick, where WAAF plotters displayed it on large map tables. The use of radar early warning allowed the Group and Sector controllers sufficient time to set their defences.
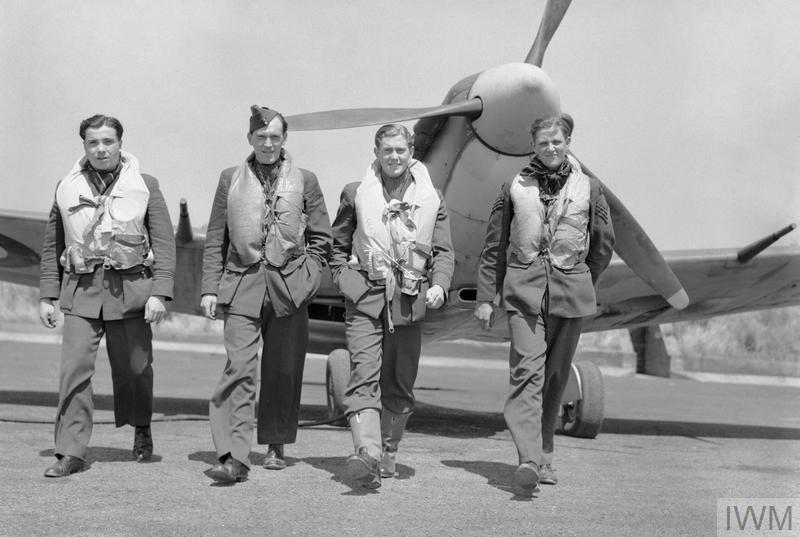
RAF Acklington scrambled 72 and 79 Squadrons to meet the raid off the Farne Islands and attack it all the way down the coast towards Tyneside, where it was engaged by the guns of the Royal Artillery’s 7th Anti-Aircraft Division. As the raid turned back for Norway, it was attacked again, this time by Hurricanes of 605 Squadron. They had been scrambled from RAF Drem in East Lothian in case the raid turned towards Edinburgh but had been then repositioned by the Sector Controllers. By then, the raid had split, with a separate arm heading for Sunderland; Sector Controllers had positioned 607 Squadron (RAF Usworth) and 41 Squadron (RAF Catterick) to attack before the raid reached the city, when the anti-aircraft guns again joined the fight.
Although some bombs were dropped causing civilian casualties and damage to property, the raid failed to destroy anything strategically vital. Luftflotte 5 lost between 15 and 20 aircraft at no cost to the defending fighters. In air war terms, this was a resounding defeat for the Luftwaffe, whose Luftflotte 5 never attacked the UK in daylight again.
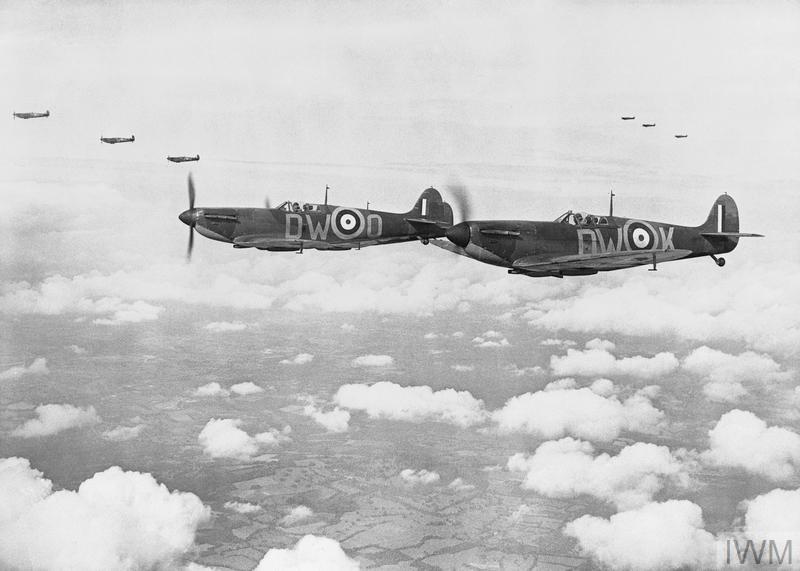
The Luftflotte 5 raid was shattered by the fighting skills of the Spitfire and Hurricane pilots. However, the early warning provided by radar, and the battle management to position the fighter squadrons correctly provided by the trained personnel in the Group and Sector Ops Rooms, was critical to the RAF’s success against this raid. At RAF Boulmer, the Air Ops and Trade Group 7 personnel of the ASACS Ops Wing and the Operational Conversion Unit, and the engineering personnel of the ASACS Engineering and Logistics Squadron, provide the same role to today’s RAF. The equipment and detailed procedures may have moved on, but we still apply the fundamental principles of air defence that our predecessors did in 1940!
Photos:
© IWM C 1868
© IWM CH 740
© IWM CH 1550
© IWM CH 3056
© Actions on Tyne Tees


